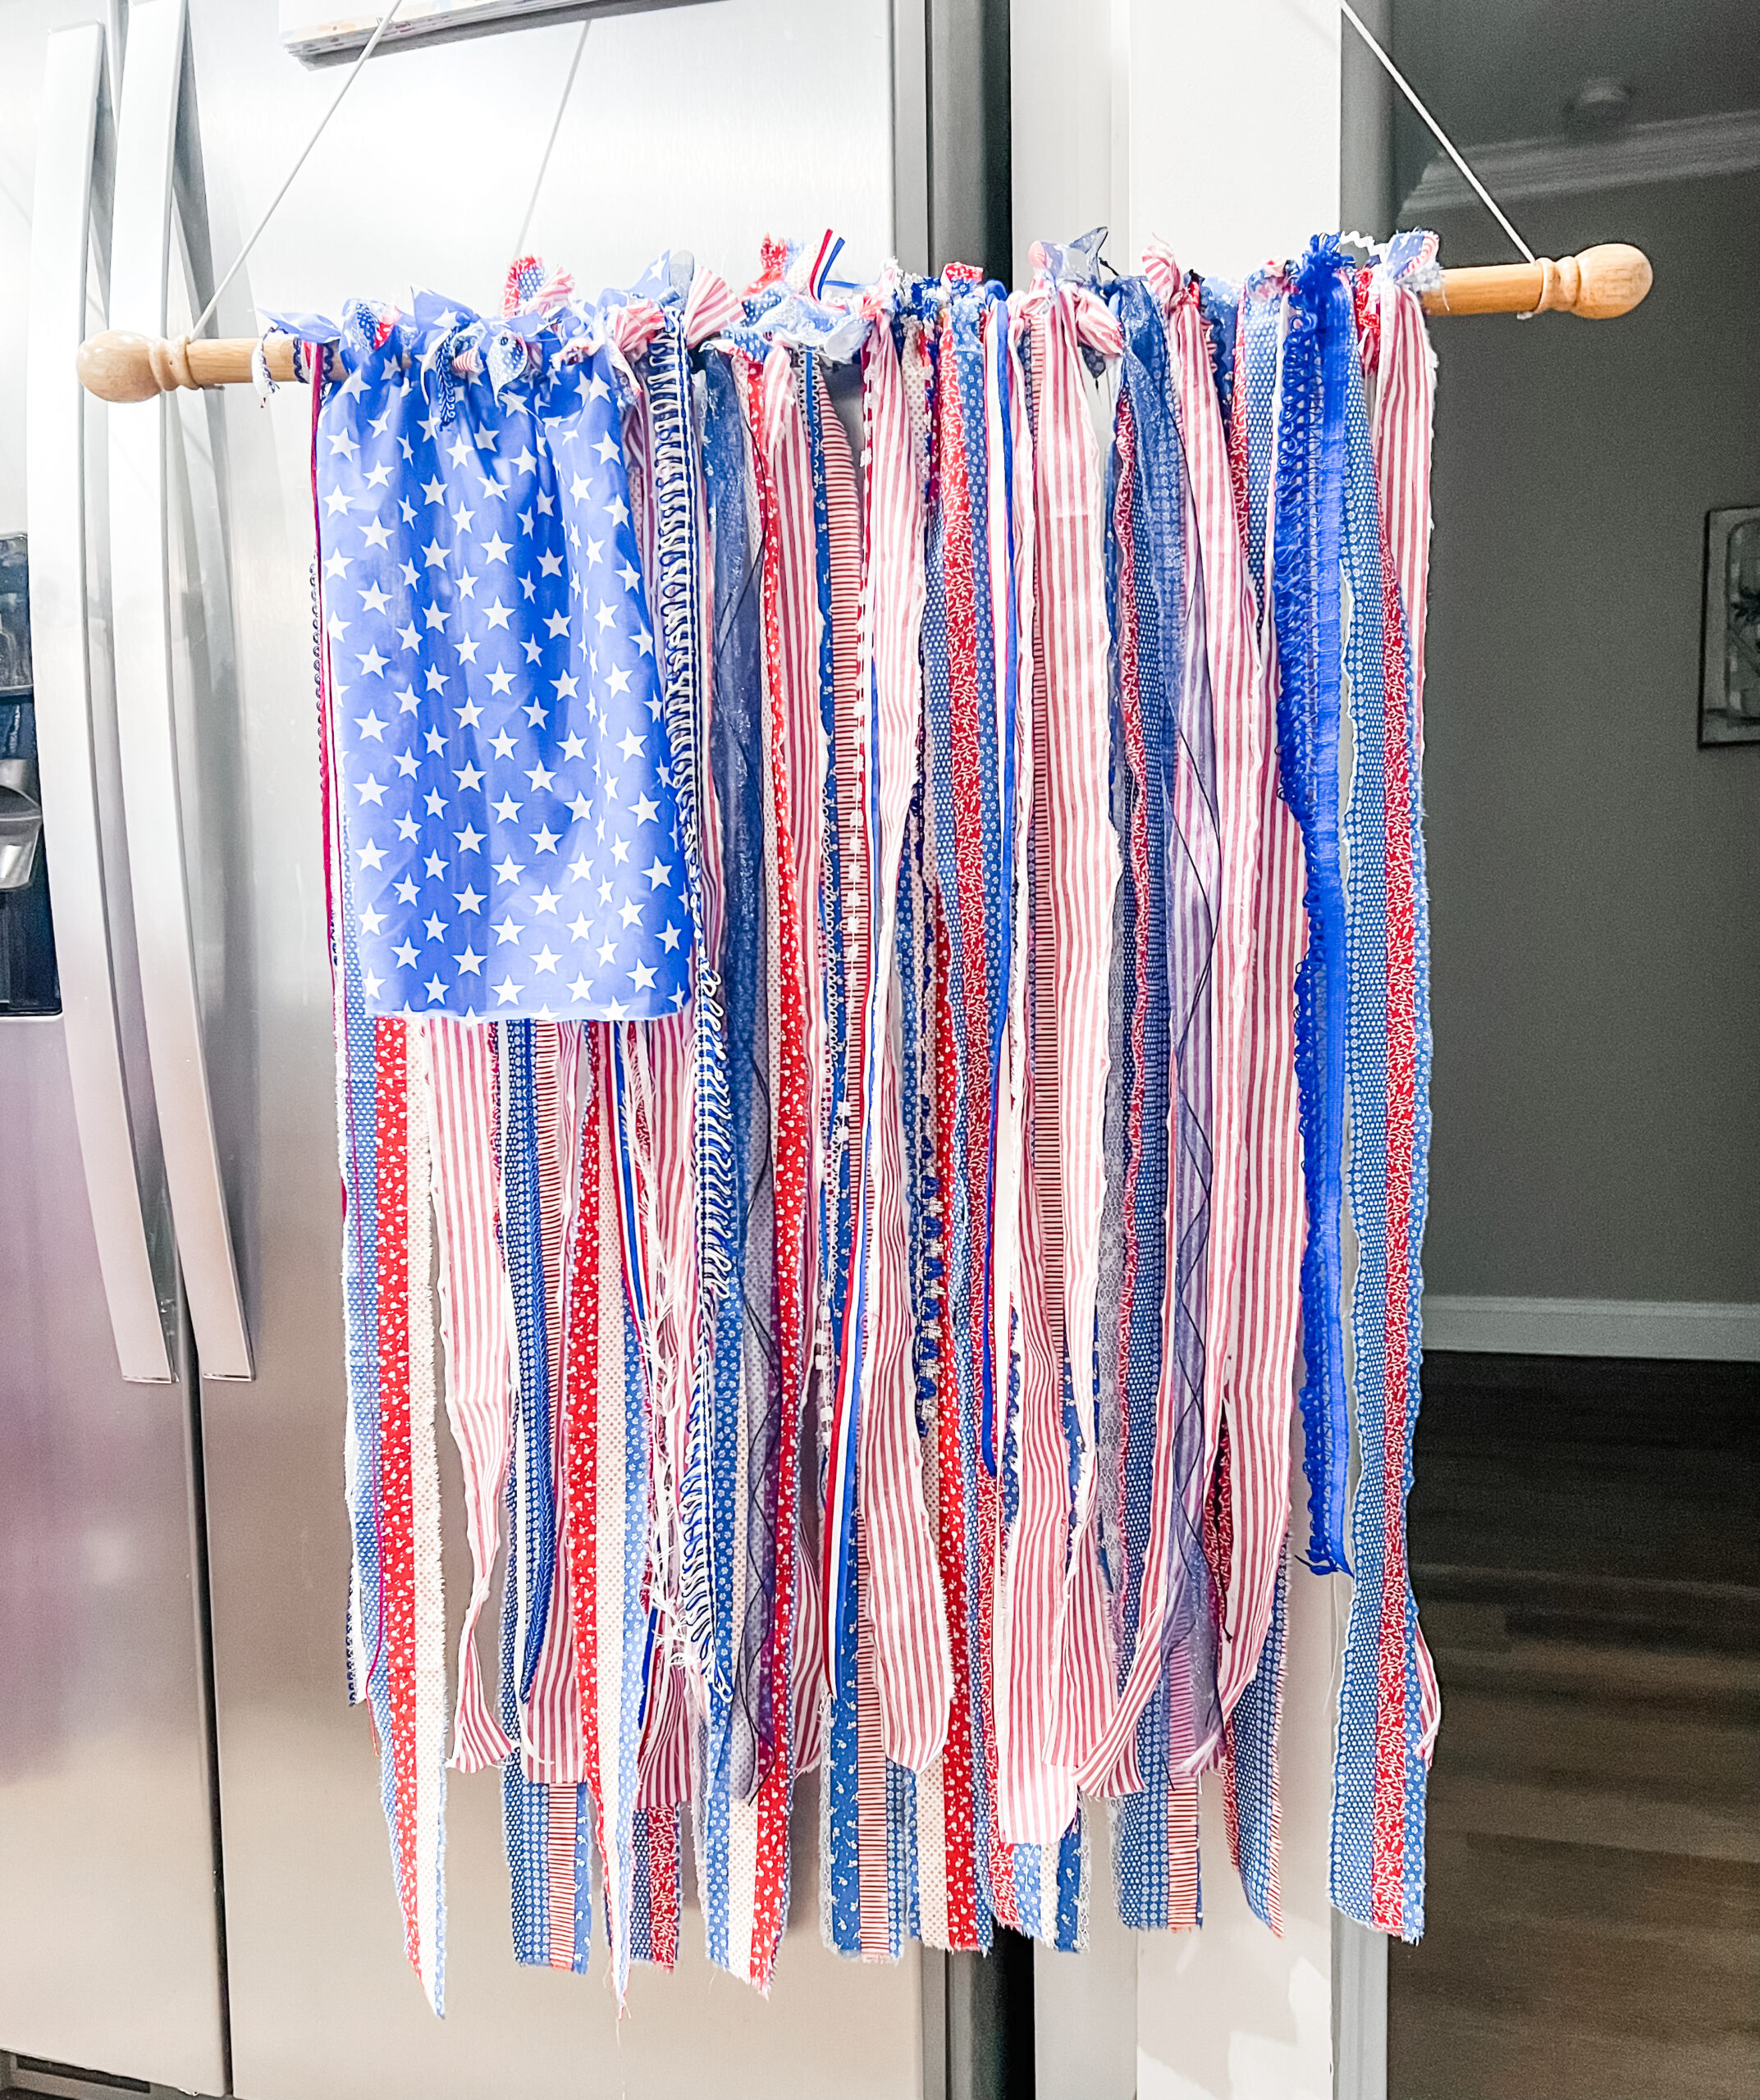
When I set out to make my rag flags to add to my 4th of July decor for my front porch, I envisioned a vibrant mix of red, white and blue patterns and textures. And let me tell you, the fabric and the ribbon bundles I found were absolutely brimming with potential. From florals to stars and stripes to beautiful trim, I knew it was bound to turn out great. Each piece added its own unique flair, coming together in a symphony of color and texture that was both budget-friendly and stunningly beautiful. I made two rag flags, one for each side of my front porch.
This eye-catching piece of Americana is the perfect DIY project for anyone looking to adorn their home with a one-of-a-kind flag. This is a versatile craft and would look great anywhere. Make one to use as indoor patriotic decor or make a smaller one to use as a wreath on your front door. You could also hang it from a tree in your yard as decoration for your 4th of July dinner party. Anywhere you decide to place your rag flag, it will definitely spark patriotic conversation.
I will guide you step-by-step to make your very own shabby chic rag flag!
Step 1: Gather Your Materials
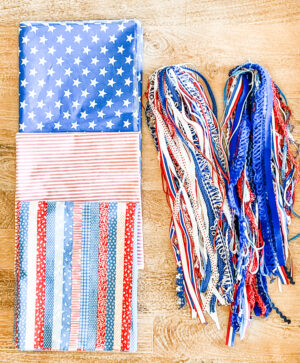
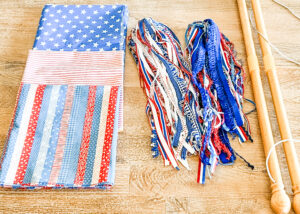
Since I made two rag flags, I am including what is needed for making just one as well as supplies needed for making two. Everything I used came from Amazon, which is a bonus if you like to order your craft supplies as much as I do. Craft shopping with two kids under three years old? No, thank you. Feel free to get creative with your fabric choices!
As an Amazon Associate, I earn when readers purchase through my links.
What You’ll Need:
- 35″ wooden flag dowel (1 pack or 2 pack) I’ve also seen people use tree branches instead of dowels and then attach jute string to hang it. If you do this, just cut the branch to your preferred size. If you want a smaller flag, grab a smaller dowel or branch. Adjust the size of your fabric strips to be proportional.
- Star print fabric You may have some left over unless you get yours cut at the exact dimensions that you need at a craft store. The rectangles I cut for my flag were 12 inches wide by 18 inches long. The fabric is inexpensive so I was okay with having extra. I plan to make some table centerpieces for my porch that match the rag flags. I think that they will bring all of my 4th of July decor together.
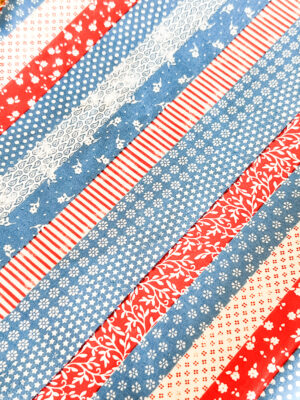
- Americana floral stripes fabric I am obsessed with this fabric! It is not only beautiful, but also feels amazing! You only need one of these if you’re making one flag. It is one yard x 44inches. I ordered two yards.
- Red-striped fabric This is the prettiest and most cost-effective option I could find and I recommend getting this one whether you do one or two flags. If you have leftovers, they could be used for so many other crafts, even Christmas crafts! I used all of this since I made two flags.
- Patriotic ribbon bundle You’ll need one bundle for one flag and two bundles for two flags.
- I also added a few strips of navy wired-edge ribbon that I had leftover from my DIY 4th of July deco mesh wreath.
Let’s just pause for a moment and appreciate the beauty of this fabric!
2. Other Supplies You’ll Need
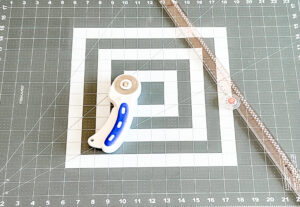
- rotary cutter and cutting mat (or scissors – I like using a cutting mat because it makes measuring the strips much easier)
- sewing ruler or regular ruler
- scissors
3. Cut the Fabric Strips
I started with the red-striped fabric. I cut 2 inch strips, so my strips were 2in x 36in.
TIP: you can cut about two inches and then just rip the rest! It will rip in a straight line. Pull away the loose strings and you’ll have a nice frayed strip of fabric.
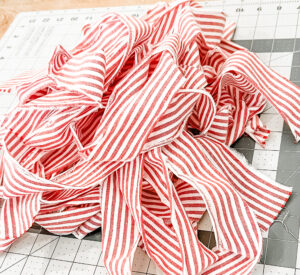
Since this fabric was shorter than the Americana fabric, I wanted to make some strips where I combined the two to add some character. I went ahead and cut (4) 2in x 44in strips from the floral Americana fabric. I then cut those four strips down to 2 in x 8 in strips and tied them to the red-striped strips.
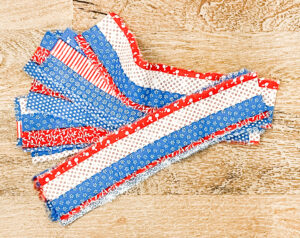
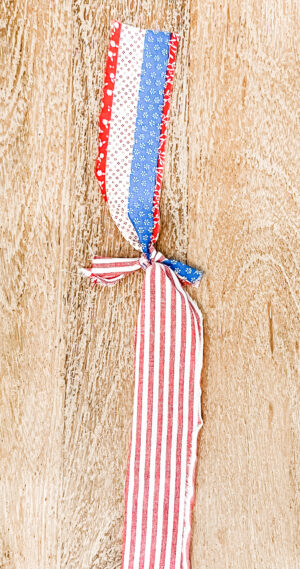
Once tied to the dowel, the Americana fabric didn’t show up too much, but the extra knot helped fill up gaps between fabric strips.
Next, I cut the rest of the floral Americana strips into 2in x 44in strips.
4. Tie the Strips to the Flag Dowel
I ended up with 26 strips for each of my two flags. You can be as random as you want with your placement. Just tie them onto the dowel – super easy, right?
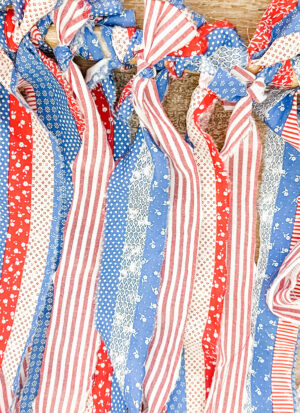
5. Add the Ribbon/Trim to the Rag Flag
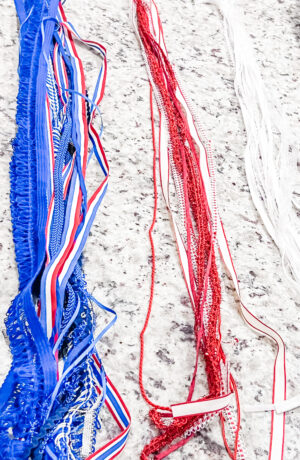
After I got all of the fabric strips tied onto the flag, I moved the flag and hung it on my refrigerator so I could see how it looked hanging up. I just kind of tied them into spaces I thought they would look good in. For the thinner trim pieces, I combined two or three to make it more full in that area. The larger navy ribbon that is spiraled was the leftover ribbon I had from Hobby Lobby. I just twirled it around after I attached it to the flag and kind of squeezed it with my thumb and palm to make it “curly.”
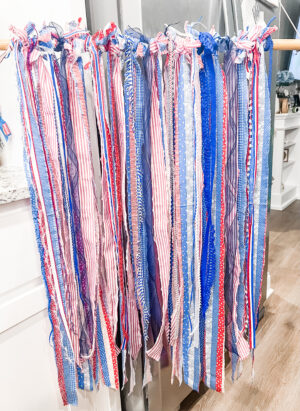
6. Cutting and Applying the Star Fabric
Finally, I cut two rectangles that were 12in by 18in each. Only do one rectangle if you’re making one flag.
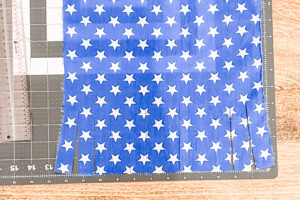
To attach the rectangle to my flag, I cut into the fabric about 4 inches every 1 inch along one of the shorter sides. See below. I used these strips to tie the fabric onto the dowel.
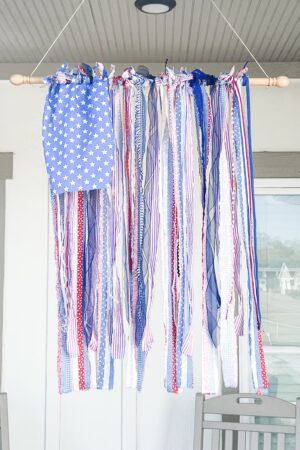
I love how shabby they turned out! As the saying goes, “a home is not a place, it’s a feeling,” and this 4th of July DIY decor project will surely evoke a sense of warmth in your home the same as it did in mine.
If you create your own shabby chic patriotic rag flag, I hope you will come back and share a picture with me in the comments or tag me on social media. I would love to see what you come up with!
Looking for more 4th of July decor inspo? Check out my other blog post!
